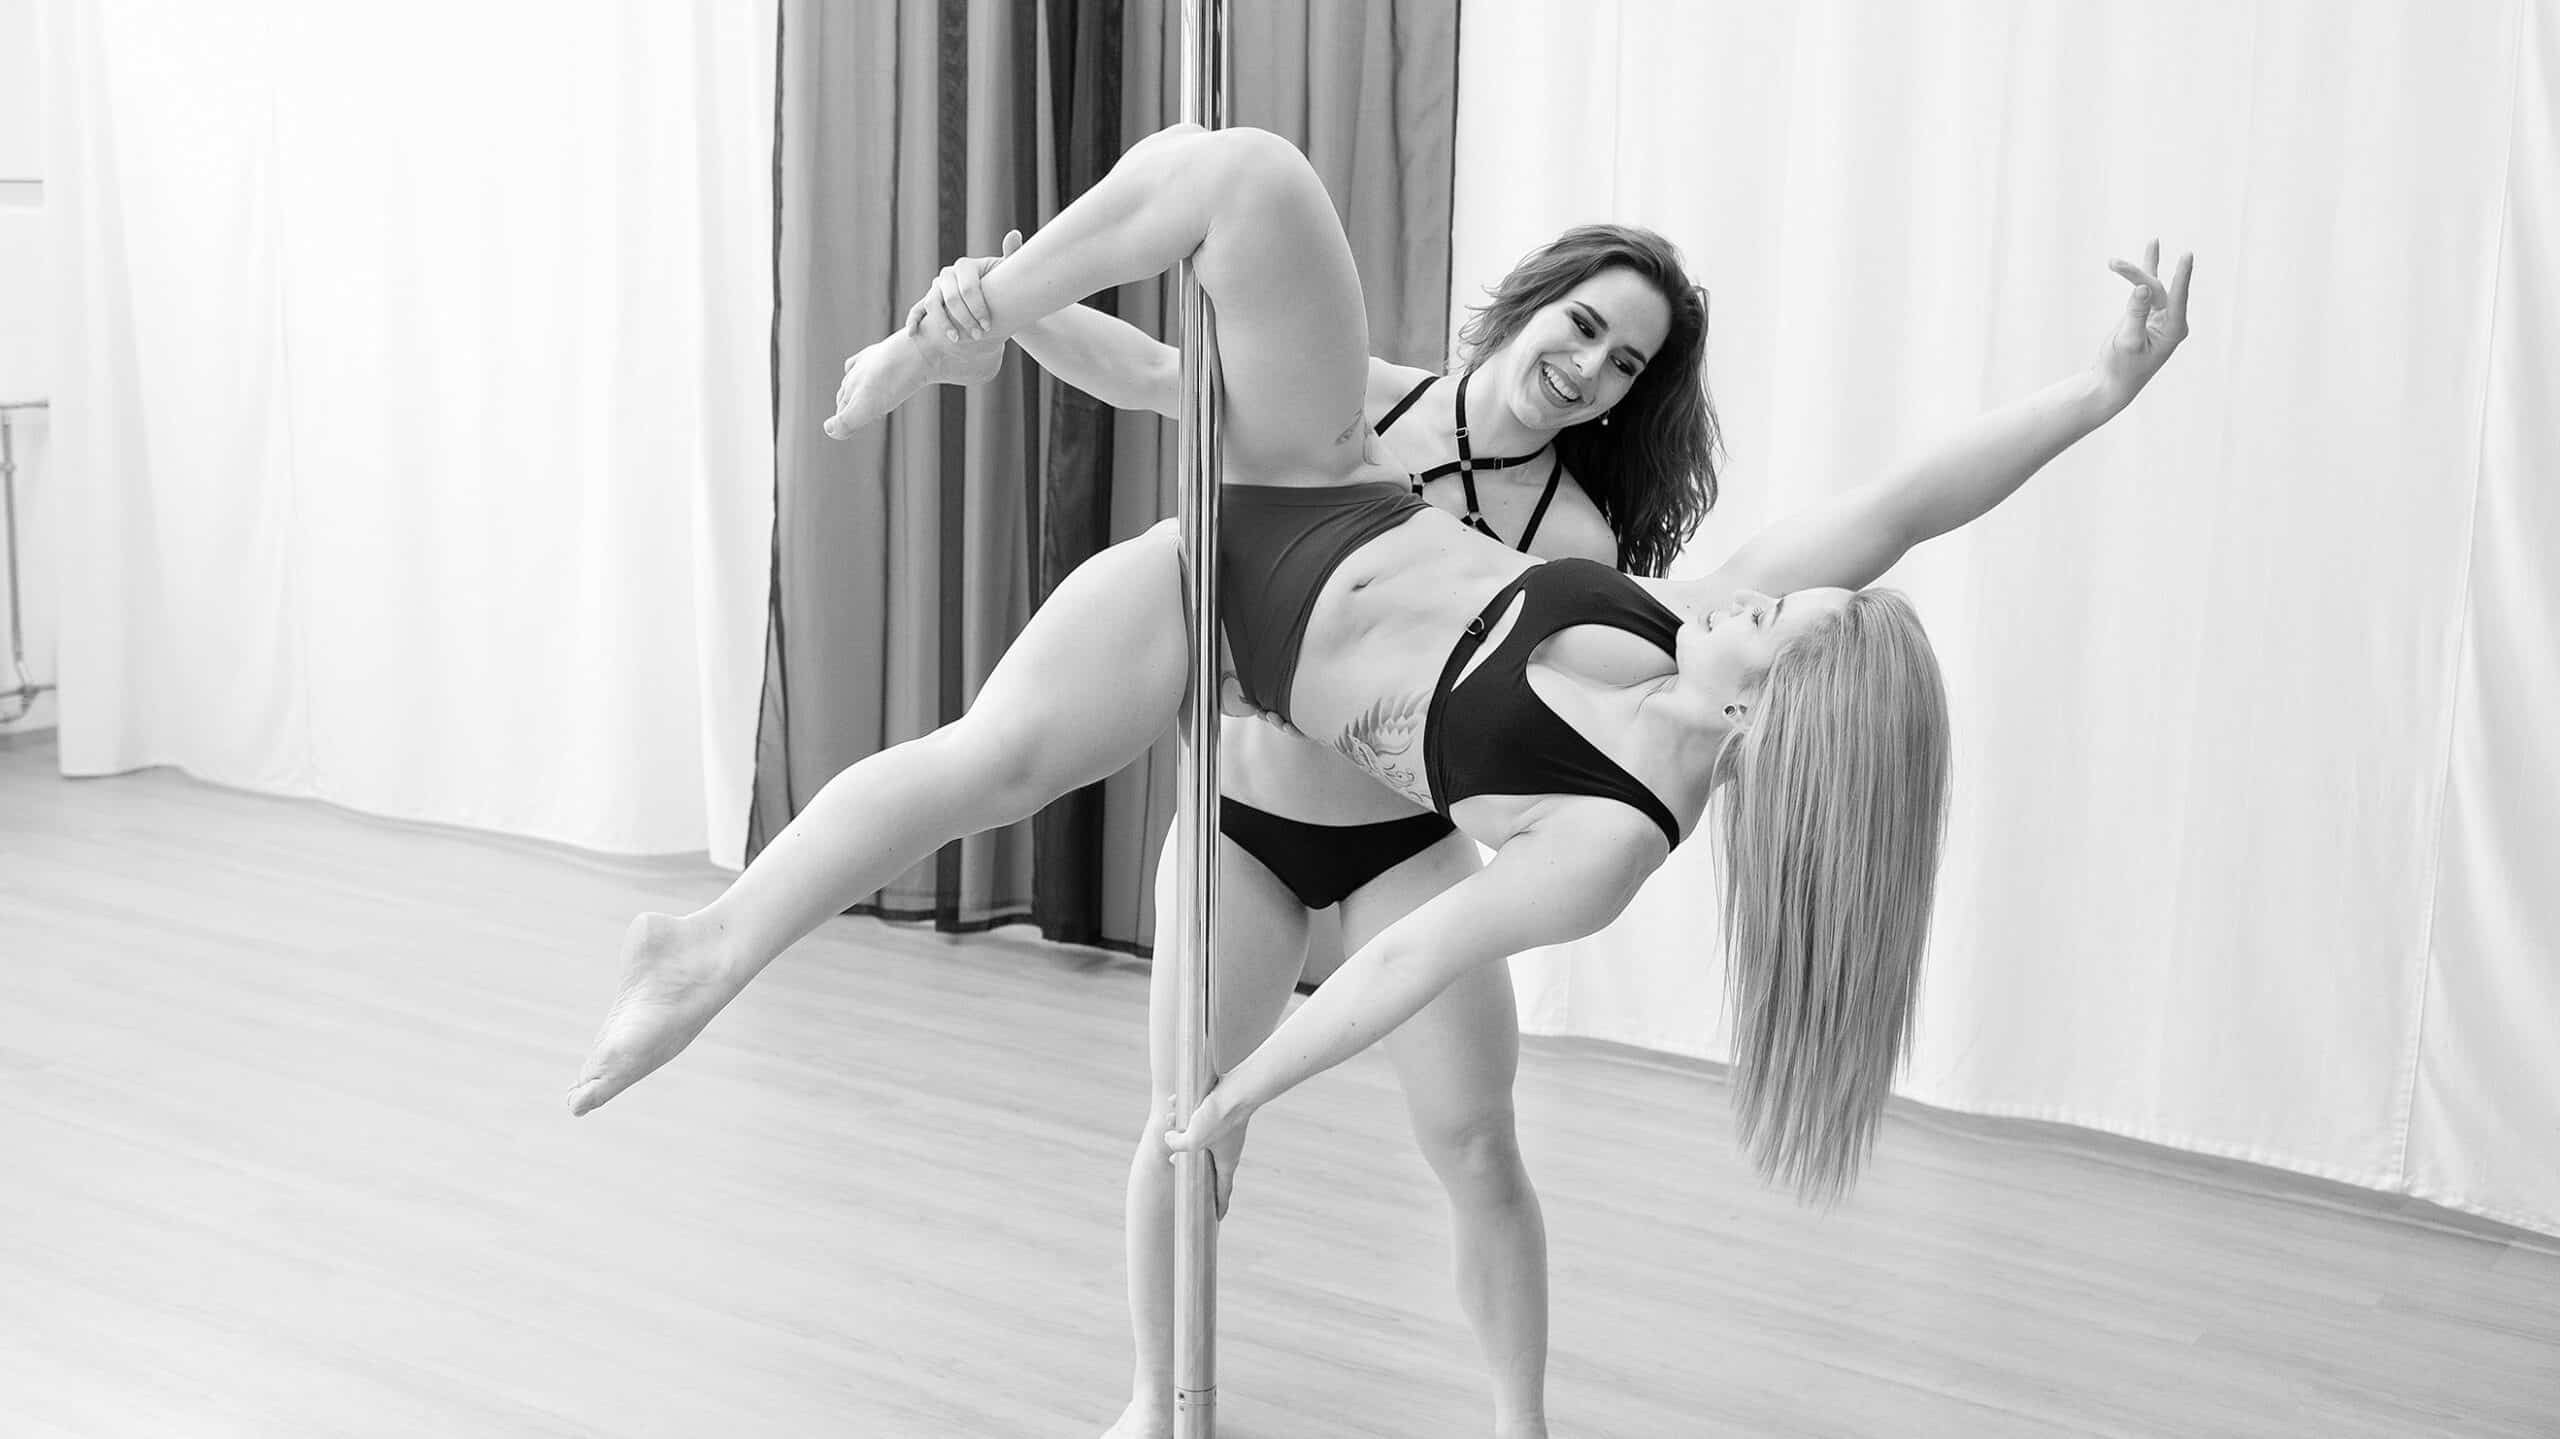
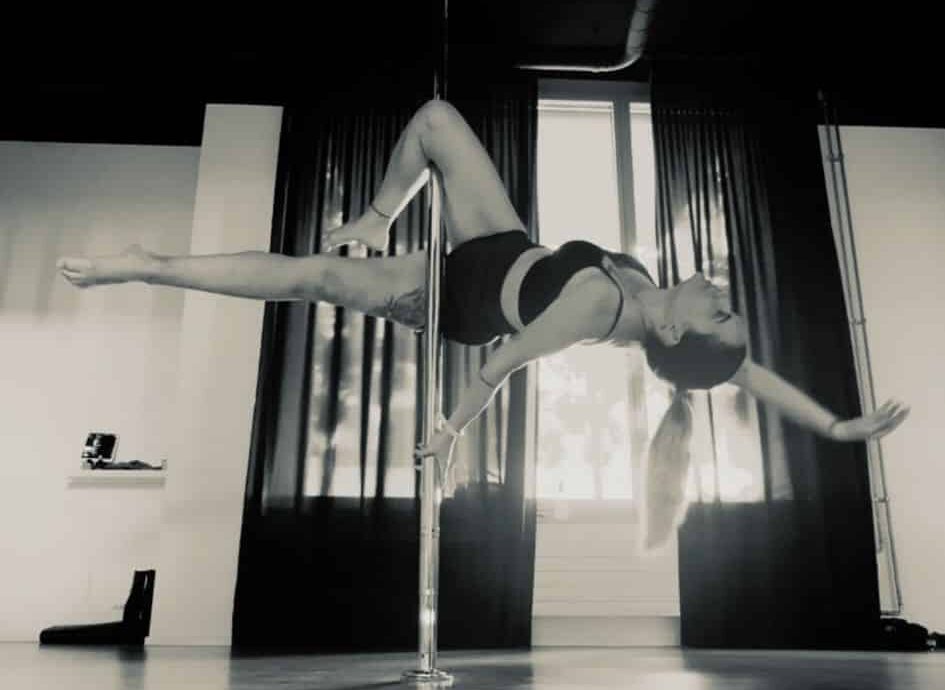
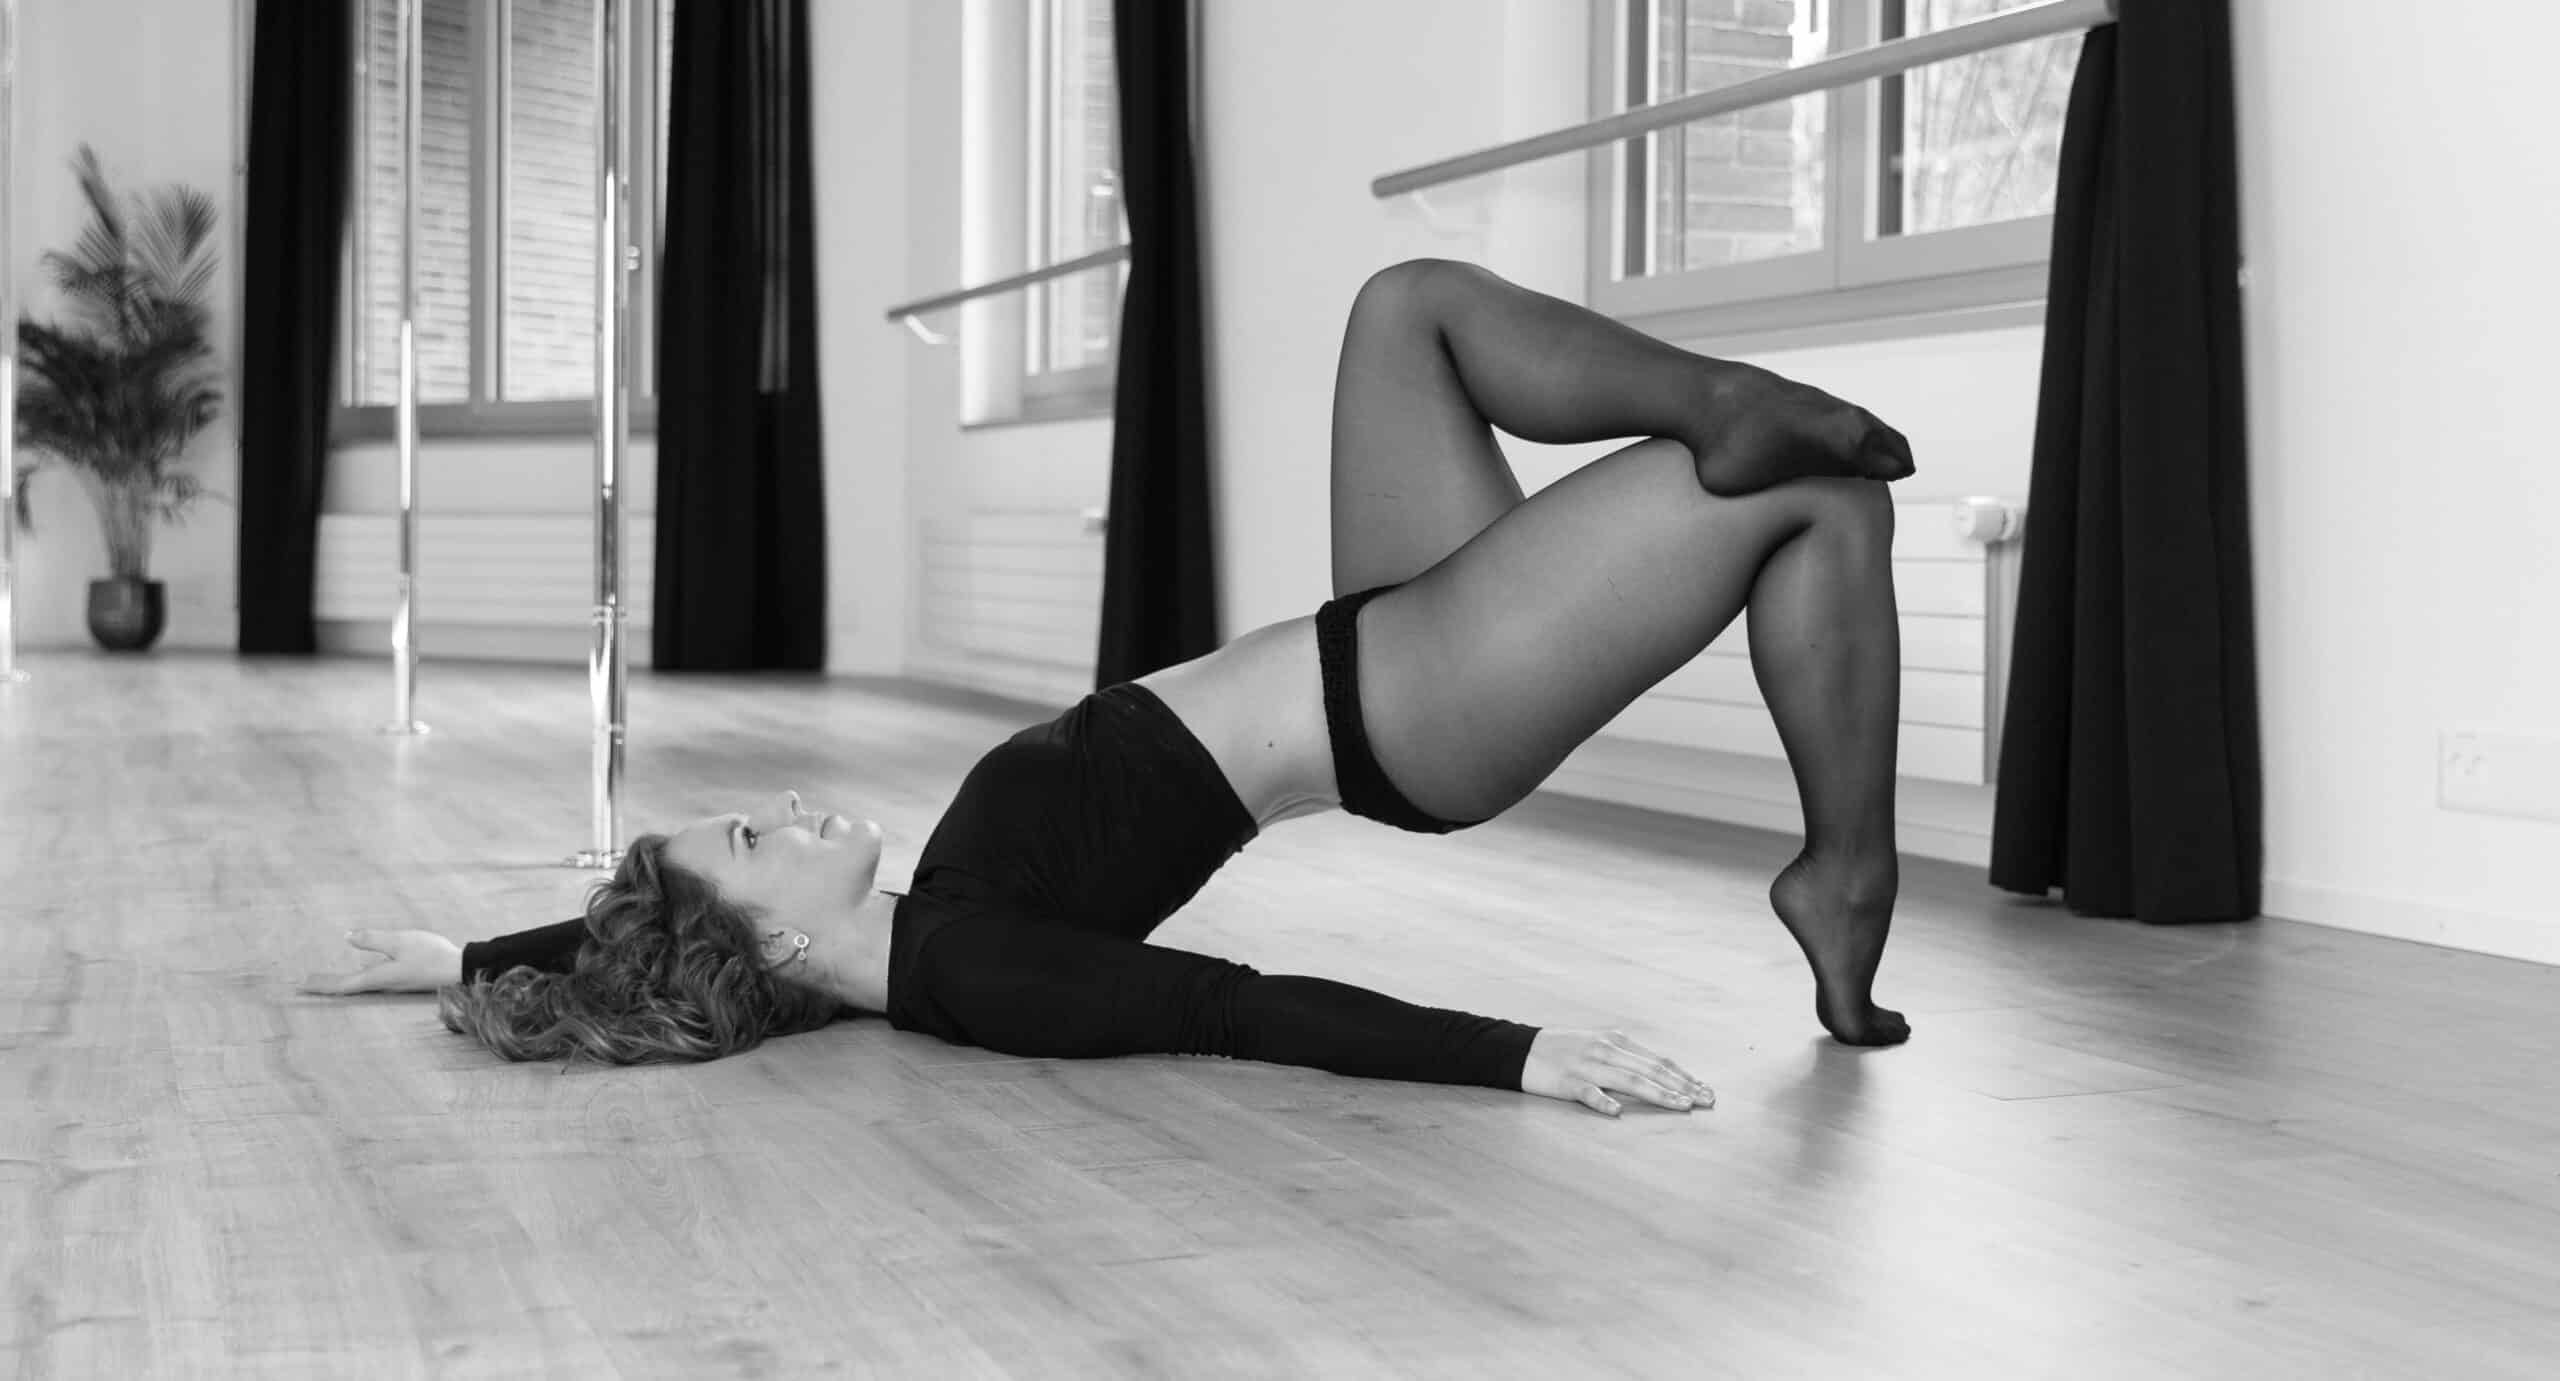
At Gravity Arts, we believe that pole dance is not just about strength and flexibility – it’s also about embracing your style and confidence. One way to take your pole dance practice to the next level is by incorporating heels. Whether you’re new to heels or looking to refine your technique, this guide will help you navigate the world of pole dance heels, covering everything from brands to sizing and everything in between.
1. The Most Popular Heel Brands
When it comes to pole dance heels, the brand you choose can make a significant difference in your comfort and performance. The two most popular brands in the industry are:
- Pleaser: Known for their durable, stylish, and supportive heels, Pleasers are the go-to for most pole dancers. They typically offer a less steep slope compared to other brands, making them a good choice for those who are still developing foot strength. With their fit being a bit more wide, they’re also a match for dancers with a wider foot. Their designs range from sandals to boots, offering various options for beginners and experienced dancers alike.
- Hella Heels: Hella Heels are often favored for their steeper incline and narrower fit, especially the sandals. This makes them a great choice for dancers with a slimmer foot. However, beginners might find the steep slope a bit challenging, so it’s advisable to start with a more gradual incline and work your way up. Hella also offers various designs, from sandals to boots, offering various options for beginners and experienced dancers alike.
Another growing trend in the pole dance world is custom-made heels, offered by brands like Bespoke by Chacha. You can choose specific materials, heights, and styles that suit your preferences, creating a unique and personalized experience. While custom heels offer better fit and comfort, they might come with a higher price tag and longer production time.
If you’re just starting out or want a more budget-friendly option, brands like Pleaser and Funtasma might be a good choice. However, if you’re looking for something unique and tailored specifically to you, custom-made heels could be worth the investment.
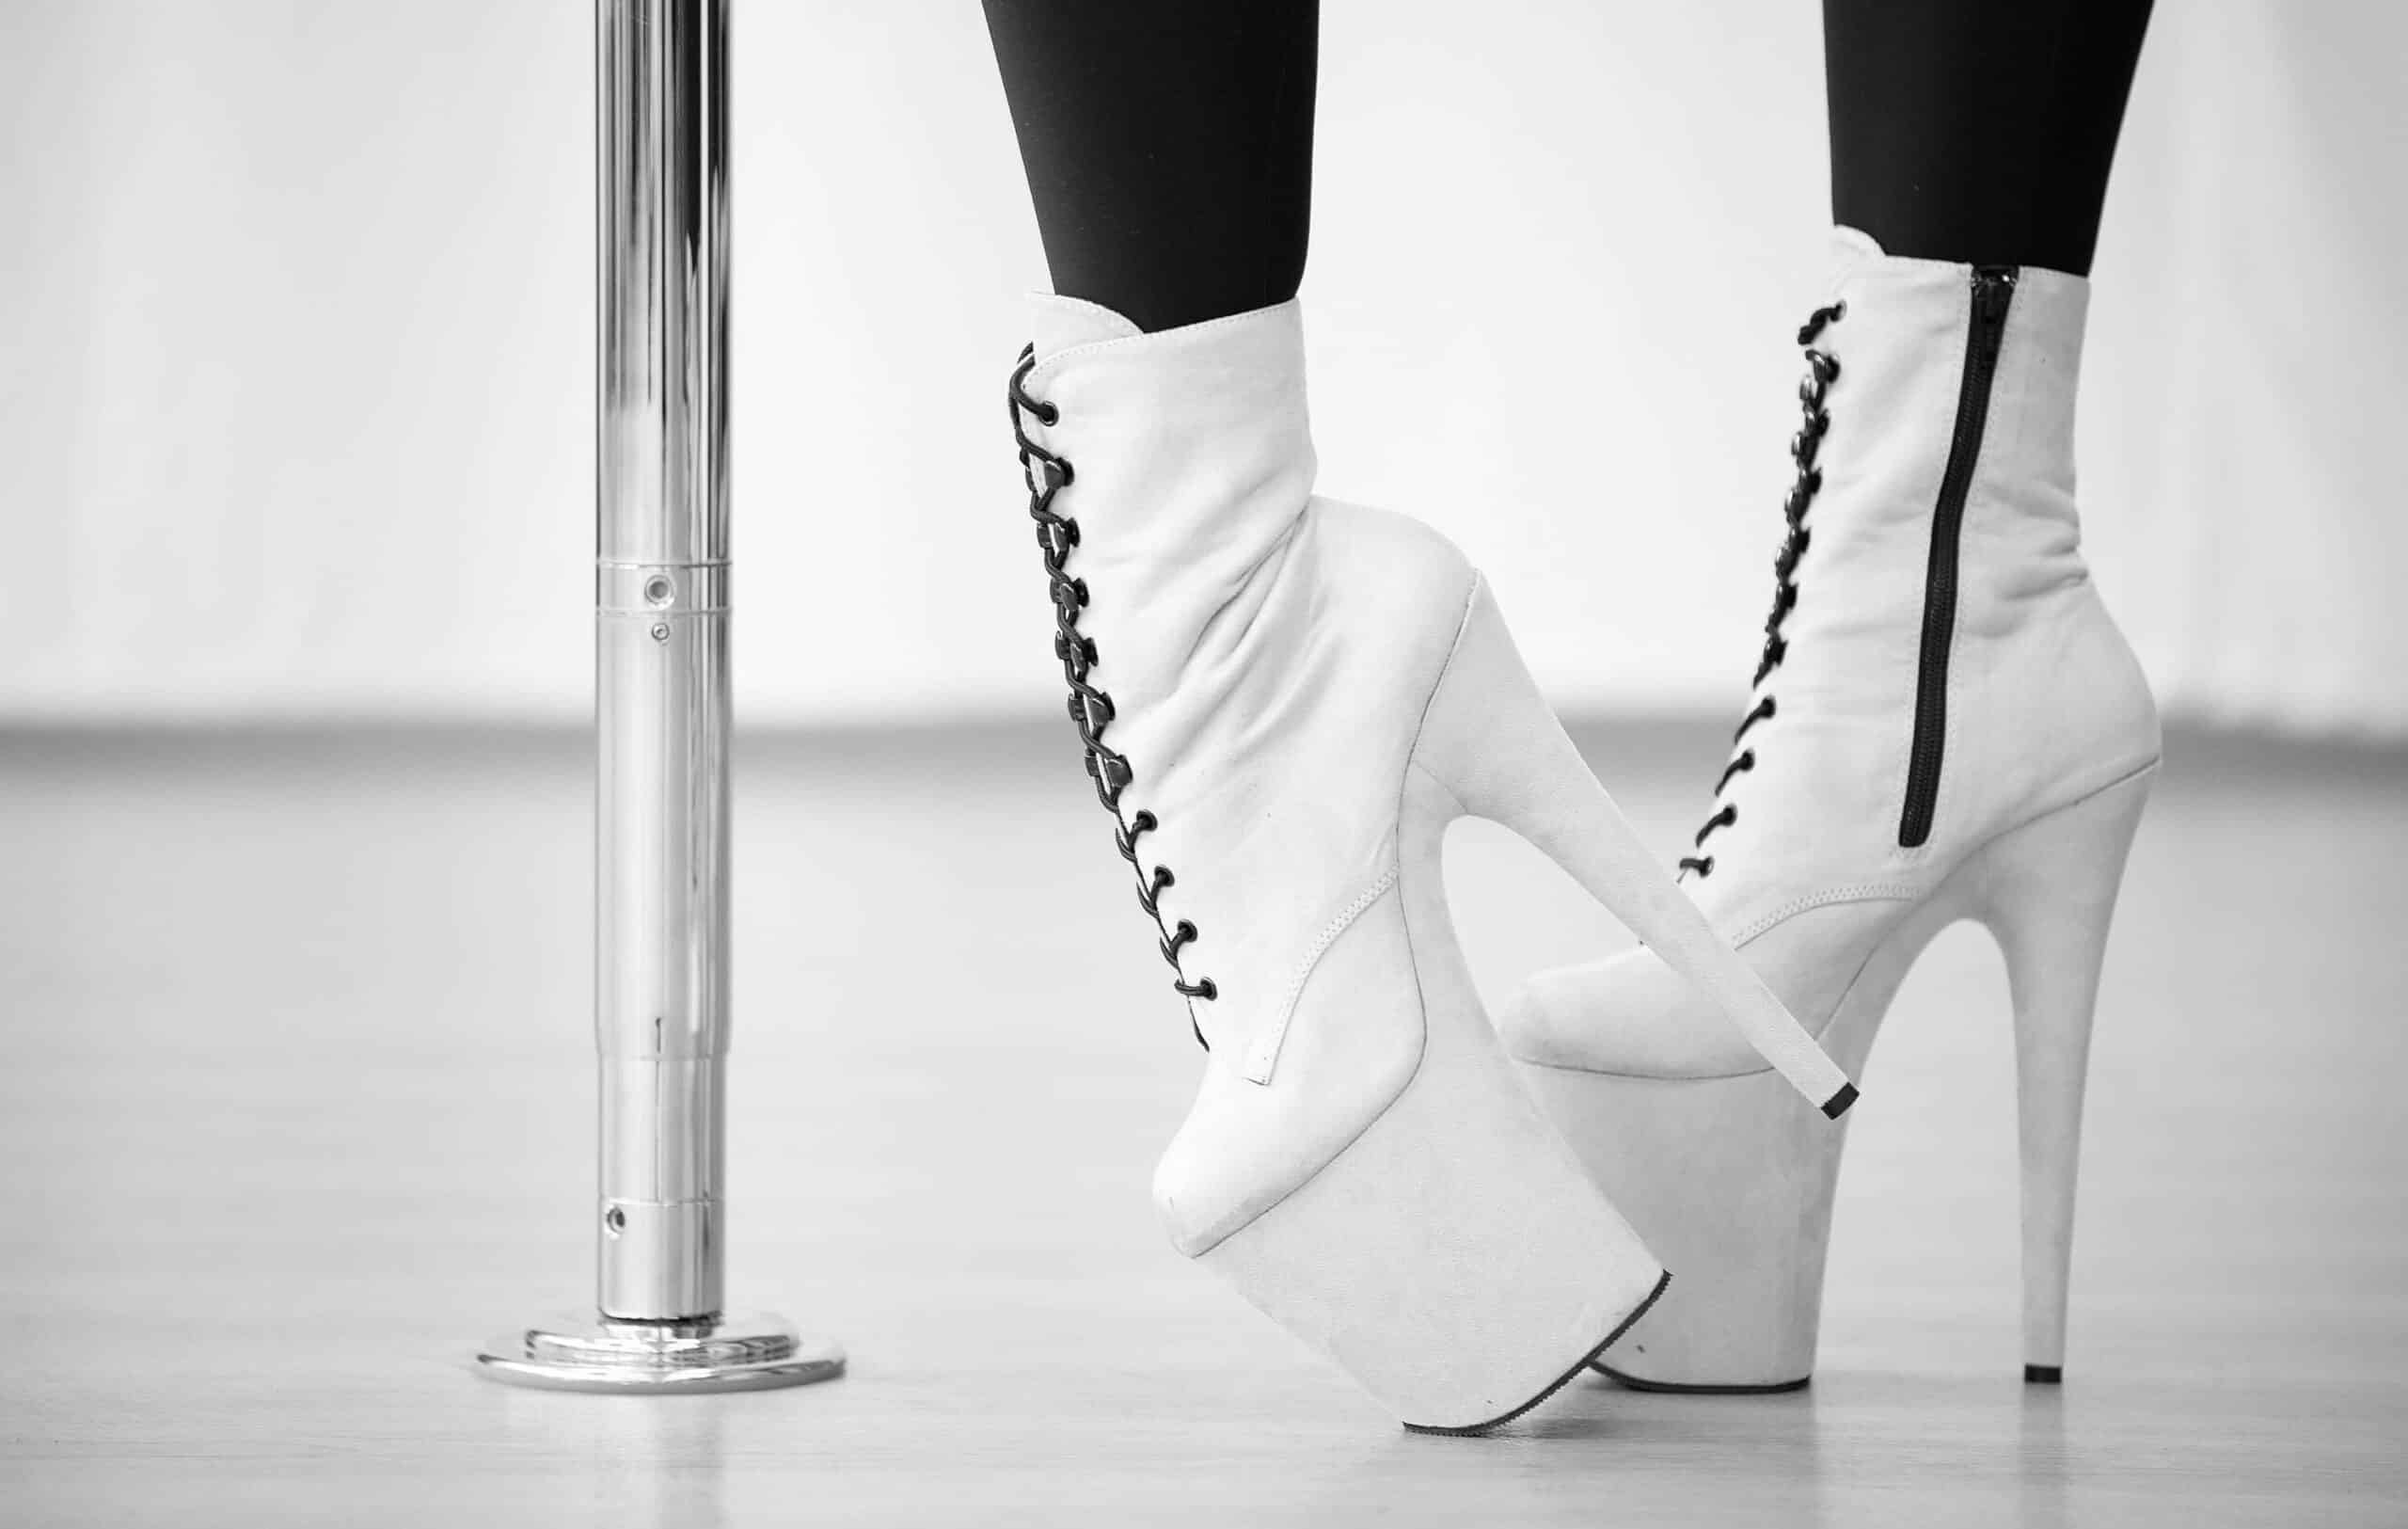
2. Types of Heels: Sandals, Boots, and More
There are several different types of heels, and the right one for you depends on your goals, experience, and comfort level.
- Sandals: These are the most popular choice for pole dancers looking to work on foot strength and flexibility. While they don’t offer as much ankle support as boots, they challenge you to engage your feet and toes more actively. This makes them a great choice for dancers wanting to improve their footwork and balance. However, the lack of support might feel less secure for beginners.
- Boots: Boots offer more stability and support around the ankle and are a great option for beginners. The added coverage helps prevent injuries by providing better hold during tricks. They also give you a more solid foundation to work on your technique and strengthen your feet before progressing to sandals.
- Low Ankle vs. High Ankle: Low ankle boots or sandals provide more freedom of movement but offer less support. High ankle boots provide more stability but might limit your mobility a bit. For beginners, it’s often better to start with low ankle or boots that fit more securely before experimenting with higher styles.
- Knee-high and Over-the-Knee Boots: These styles are great for dancers who want to add a dramatic flair to their routine. Keep in mind that the higher the boot, the less flexibility you’ll have in your ankle, so it might be better to work your way up to this level. Knee-high and over-the-knee boots also require some extra care when performing floorwork due to their length and potential for slipping or not sliding.
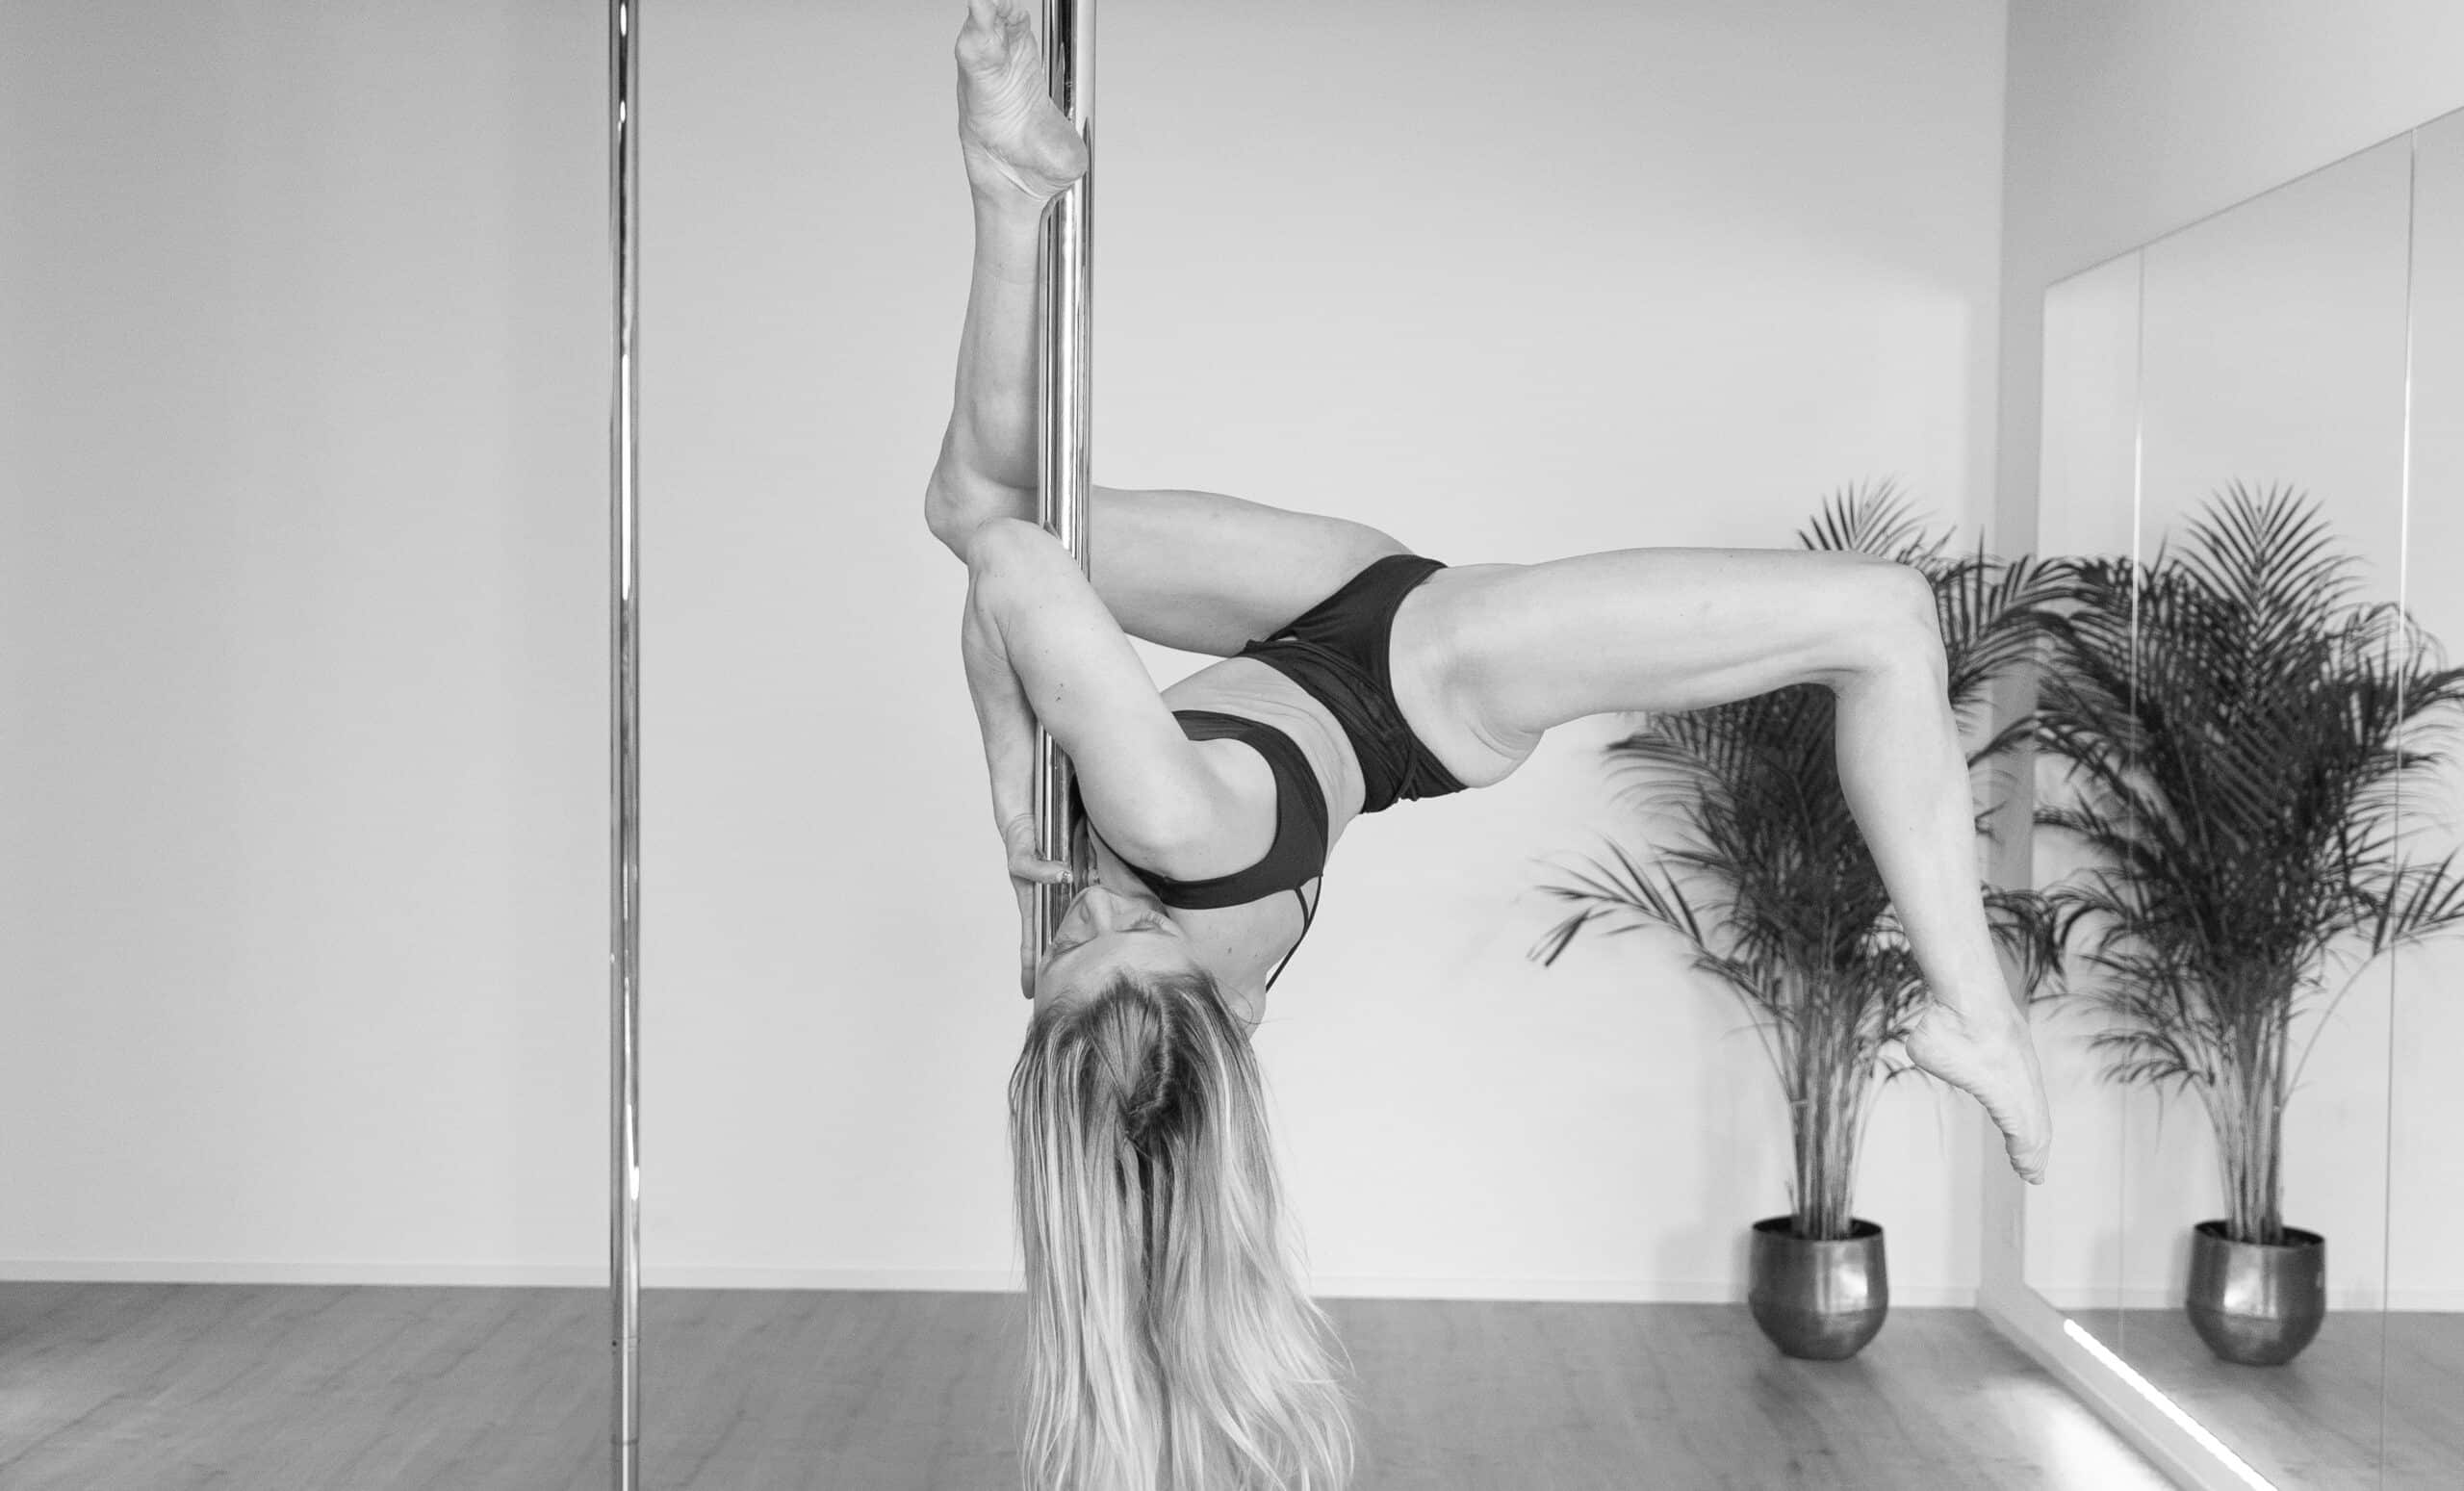
3. Heel Heights: Starting Low and Progressing Gradually
Heels come in various heights, typically ranging from 7 inches to 10 inches. For beginners, we recommend starting with a 7-inch heel. This height offers a good balance of challenge and stability, allowing you to work on foot strength and control without risking injury.
As you build strength and confidence in your feet, you can gradually move up to 8-inch or even 9-inch heels. It’s important to recognize that heel height should correspond to your foot and ankle strength – don’t rush to higher heels before you’re ready. Slow and steady wins the race when it comes to mastering your pole dance techniques and ensuring your safety.
4. Heel Materials: Leather, Suede, Patent, and Satin
When choosing a pair of heels, the material can make a big difference in both performance and comfort.
- Patent leather heels sure bring the most shining along but are also the most sticky, providing strong grip on the pole. This makes them ideal for performing static tricks and holding positions. However, their stickiness can hinder fluid movements like slides or certain floorwork moves, as they may be harder to slide with.
- Leather heels provide a bit less grip than patent leather, offering a balance between traction and slide. They are still good for holding positions but allow for more movement, making them versatile for a wider range of pole tricks. Another plus – or contra, depending on how you look at it – is that leather tends to “work” and adjusts to your foot over time.
- Suede and satin heels offer the least grip and the most slidyness. These materials are great for performing slides and fluid moves on the pole or the floor, as they allow for easier transitions. However, they can make climbing and gripping the pole a bit more challenging, so they might not be the best choice if you’re focusing on strength-building moves.
5. Sizing: Finding the Perfect Fit
Getting the right size is crucial for both comfort and performance, especially when it comes to pole dancing in heels.
- For Sandals: It’s often recommended to size down one size for sandals. Since you’ll be pointing your foot while dancing, your toes will naturally retract, and sizing down ensures that the sandal fits snugly and provides the necessary support.
- For Boots: When it comes to boots, it’s crucial that they fit securely around your ankles. Make sure you can comfortably move your toes but still feel stable when walking or performing tricks.
Remember that a well-fitted heel will help you avoid blisters and discomfort during your practice. Always check the manufacturer’s sizing guide, as different brands may fit slightly differently.
6. How to Tie a Boot for Maximum Comfort and Range of Motion
When it comes to pole dance boots, proper lacing is key for both support and allowing your ankle the necessary range of motion for dynamic moves. Here’s how to tie your boots for the best balance of comfort and flexibility:
- Loosen the Laces: Before you begin, loosen the laces so that you can adjust them evenly and comfortably around your foot and ankle.
- Step onto the front of the Platform: Put your foot in the boot and step firmly onto the front of the platform (the front tip so to say). This will naturally push your arche to the front and help create the tension needed to tie the boot for maximum support without restricting ankle movement.
- Start Lacing from the Bottom: Begin lacing at the bottom of the boot, ensuring the laces are even and snug around your foot. As you work your way up, make sure the boot feels secure but still flexible. The boot should provide enough support around your foot and ankle while allowing for ankle mobility. It’s important to find a balance – tight enough to keep the boot in place, but not so tight that it restricts your ankle’s range of motion. Your ankle should still be able to flex and extend comfortably for fluid movements.
- Tie a Secure Knot: Once you’ve laced all the way up, tie a secure knot. You can double knot if needed to ensure the laces stay in place, but be sure they’re not too tight, as this can impact your comfort and flexibility. We also recommend pushing the remaining lace into the boot so they can’t be caught during your performance.
Conclusion: Start Slow and Build Your Strength
Pole dancing in heels is an exciting and empowering experience, but it’s important to approach it with care. Whether you’re just starting or looking to refine your skills, remember that building strength and control in your feet and ankles is key to mastering your technique.
Start with a lower heel, prioritize stability and comfort, and gradually increase height as your skills improve. Choose the right materials and styles for your routine, and don’t forget to size properly for the best fit. Above all, take your time and enjoy the journey!